
 I have always been fascinated with anything having to do with royalty - lately it has been crowns. I have seen French replicas for sale, but they are quite expensive. After looking at hundreds of pictures in books and on line, I came up with my own design. Here is a very simplified tutorial:
~the prototype
I made a paper crown first....

took it apart for pattern pieces....

I used galvanized tin ("flashing") and good tin snips...

the black patina is to "age"the galvanized tin and the chandelier crystals are to give it some bling...
 ta - da!!!!!

Now I know my creation is far more primitive than the prototype, but I really like its rustic simplicity. Believe me, there was a fair amount of blood (wear gloves!), sweat (use SHARP tin snips!), and tears (make sure you have plenty of ventilation when using the patina/acid).
I don't think this is something I would make to sell...but the process was a lot of fun, and I finally have that royal crown I was searching for!
Thanks for stopping by....
Pammy


 highlight interesting curves...
 trace this onto the back of your paper - I used white carbon paper, since I chose black paper...
 cut along these lines with a sharp knife...
 I decided I needed more flourishes....
 using a pushpin, pierce directly through both pattern and paper...
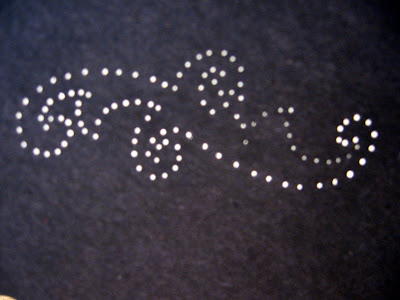 cut out the shade - I love these fancy edges...
 tape ends together with double-sided tape, place votive candle in the wine glass...
 sweet!!!


 But wait, I wanted Jennifer to have a choice - so I decided to design a second necklace. Since the new logo features a fairy, I found some royalty free clip art....

 scanned it again and re-sized it....
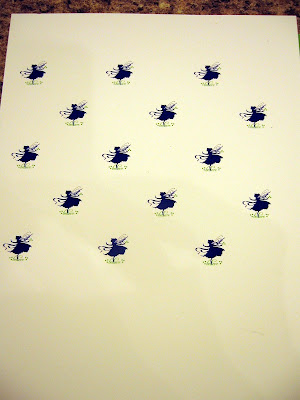 I found some pretty paper for the backs, and some pea green beads and.....

 This was fun! Now I hope Jennifer thinks they're as cute as I do....
 the queue to enter....


 more...
  fun...
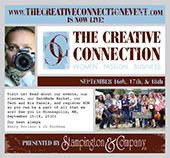
 This is a great booth - notice the huge columns on either side - they were only $100 each - did I forget to mention how reasonable the prices were throughout the show???
 I wish I had taken more pictures, but I think you can see here that the day was a great one, and we now can look forward to the next show in September.


