Showing posts with label ephemera. Show all posts

Monday, January 10, 2011

a project worthy of an award for...Project Monday #5!

It's time for another Project Monday!!!

The first Project Monday of 2011.

During the dreary post-Christmas days of January, I thought it would be a great time to share  a lovely little project I came up with to finish off my last Project Monday...

Fun.
Easy.

CHEAP.

Here's what you do:

Cut a dozen 2" wide strips from some old sheet music. Cut them length-wise.
and
Cut 8-10 1" strips from the same music, but cut these a couple of inches shorter.

Cut a large circle from cardboard and find the center. Using a pin, poke a hole in the center.

Punch a hole in both ends of each strip.

Bring ends together to form a loop, and poke a brad through the holes.
Keep looping and building onto that same brad until all strips are stacked on the brad - make sure you first use the 1", then the 2".

Insert the brad through the hole in the circle and bend the prongs of the brad back.

Arrange the loops so that they are evenly spaced.

Cut a few more strips for 'streamers' - both 2" and 1" wide - and cut them at staggered lengths.
Cut the ends into a 'V'.

Glue these between the cardboard circle and the loops.

 
Cut out a couple of smaller circles, (I loved this clock face graphic!) add some glitter and a few words...


Make a pretty hanger out of #19 gauge wire and....

...attach it (with thinner wire) onto the back.

I glued an old book page onto the back of the cardboard circle ~ the back should always be as pretty as the front!


Big Mama looks positively smashing with her award on, don't you think?
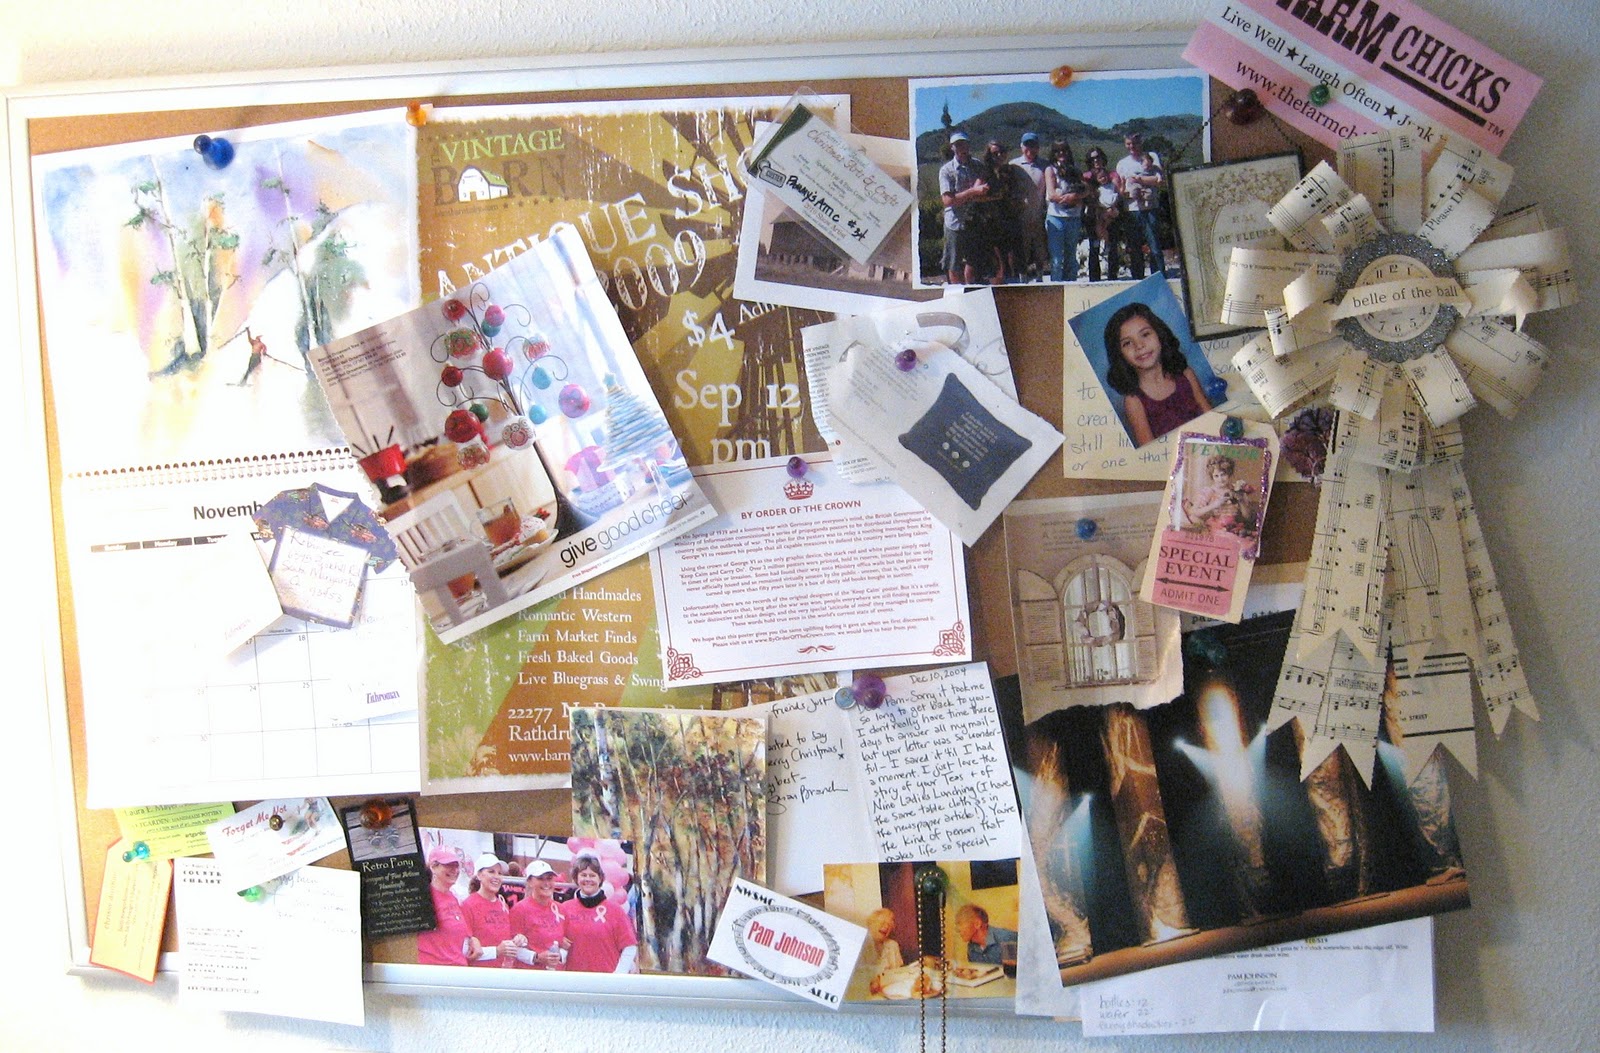
With Valentine's Day right around the corner, wouldn't this make a fun and unusual 'prize' to give to that special someone?

I'm linking up with Masterpiece Monday over at Boogie Board Cottage and White Wednesday over at Faded Charm!


Now here's my Linky!


xoxo

Monday, December 13, 2010

Project MONDAY IV - your grandmother never thought you would want her old sheet music for this.

Welcome to my 4th Project MONDAY!

I have been so excited to share this project - it is one of my all time favorite designs, and it is really quite easy. 
Though it may be a little bit time consuming, the results will knock your socks off. 
So let's get going....


On the previous Project Monday I taught you how to make this:

click HERE for the tutorial

So you'd better get crackin' and make a bunch of them.

 You are going to need one of these Styrofoam wreaths - I found mine at Michael's.

 You need a way to hang it, so now is the time to wind some wire around it - wherever you want the top to be.

 Did I mention you are going to need a lot of those roses?

 I made mine from this book:


 This was very dry and brittle, so a little tricky to work with.

note the pencil notes from lessons long ago...

I made these assembly-line-style and grouped them in piles - that sure did help to speed up the process.


After I had amassed a fair amount I began sticking them into the Styrofoam.

It is very deceiving how many roses it takes to fill in the gaps.

I want to stop here to tell you what I would have done differently.

I should have painted over the green with an antique white. I should have known better, and I still kick myself every time I see green peeking through.
 Oh well, it's too late for me, but not for you - I highly recommend taking the extra time to paint.

Moving on.....

I decided to leave a gap for a fancy ribbon "corsage".

I just cut wide strips from the same music book, "looped" them, and turned them into a ribbon reminiscent of one of those rosette ribbon awards. 


Pretty spectacular, yes?

Now it's your turn....what project have you enjoyed making lately???

I am also linking this week to Faded Charm for White Wednesday.

Now make sure you link in here and join my party...


xoxo


Friday, November 12, 2010

"Anybody can win unless there happens to be a second entry." ~ George Ade

Just got an email from the lucky winner of last week's contest.

Click HERE to read what she said.

I think she liked it.

Have a great weekend!

xoxo

Monday, November 8, 2010

project MONDAY III

Welcome to my third project MONDAY!
Today I have two projects to share.
Want to play????


Project #1:
I recently learned how to make these sweet paper roses.
(what is it about me and roses lately???)

The pink was a little too sweet for my taste, so.....
 You know how I love sheet music - the older the better.
 I did my own Pammy's Attic version of this rose:
I have the hands of a miner. Sorry about the close-up.

Wouldn't they make adorable cupcake toppers?
I used these tools:
if you don't have that punch, you could easily free hand that flower shape and cut it out.
I built them onto a toothpick like this:


I actually have a different project in mind for them that I will share with you very soon.
 So click HERE for the tutorial today, and we will revisit this project in the coming days/weeks. In fact, you could do the very next project MONDAY post using this paper flower - how fun would it be to see many different creations based on one simple design?!!!
Love that idea....  

Project #2:
Know what this is????

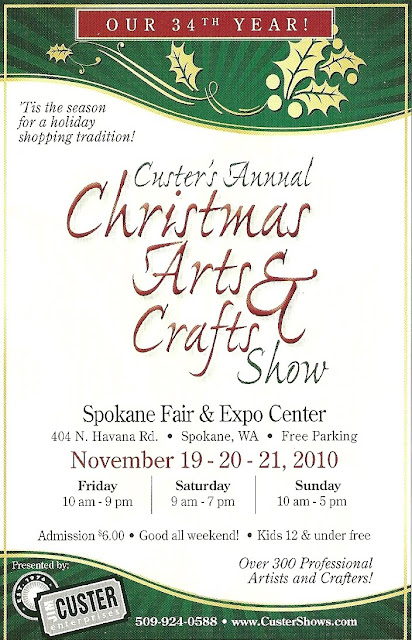
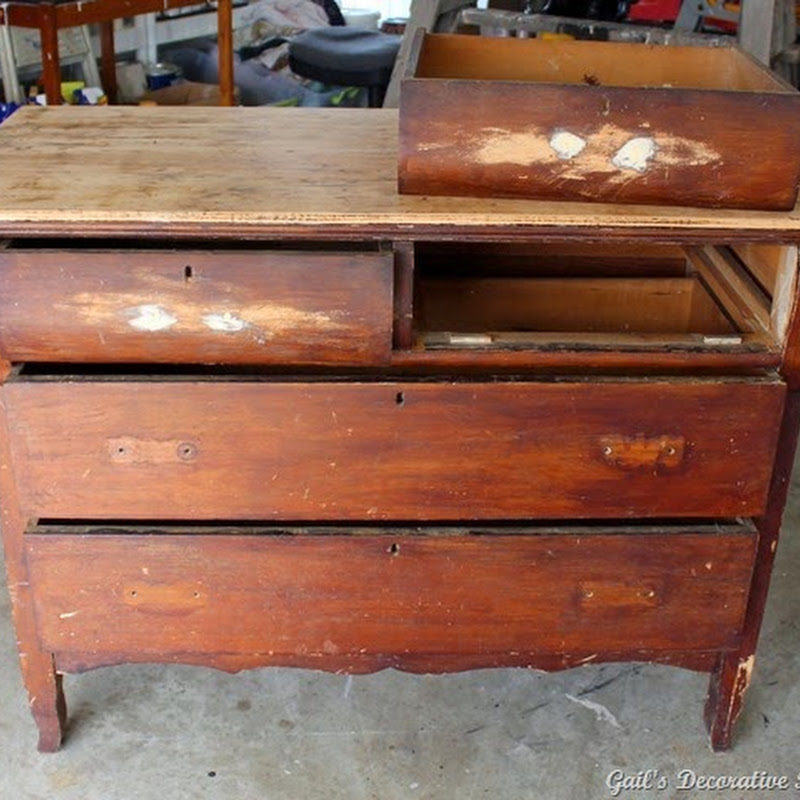
We are re-designing our booth specifically for the Custer Christmas Arts and Crafts Show in nearby Spokane, Washington. We set it up in our garage today to fine tune and tweak, and I am SO excited -it's gorgeous!
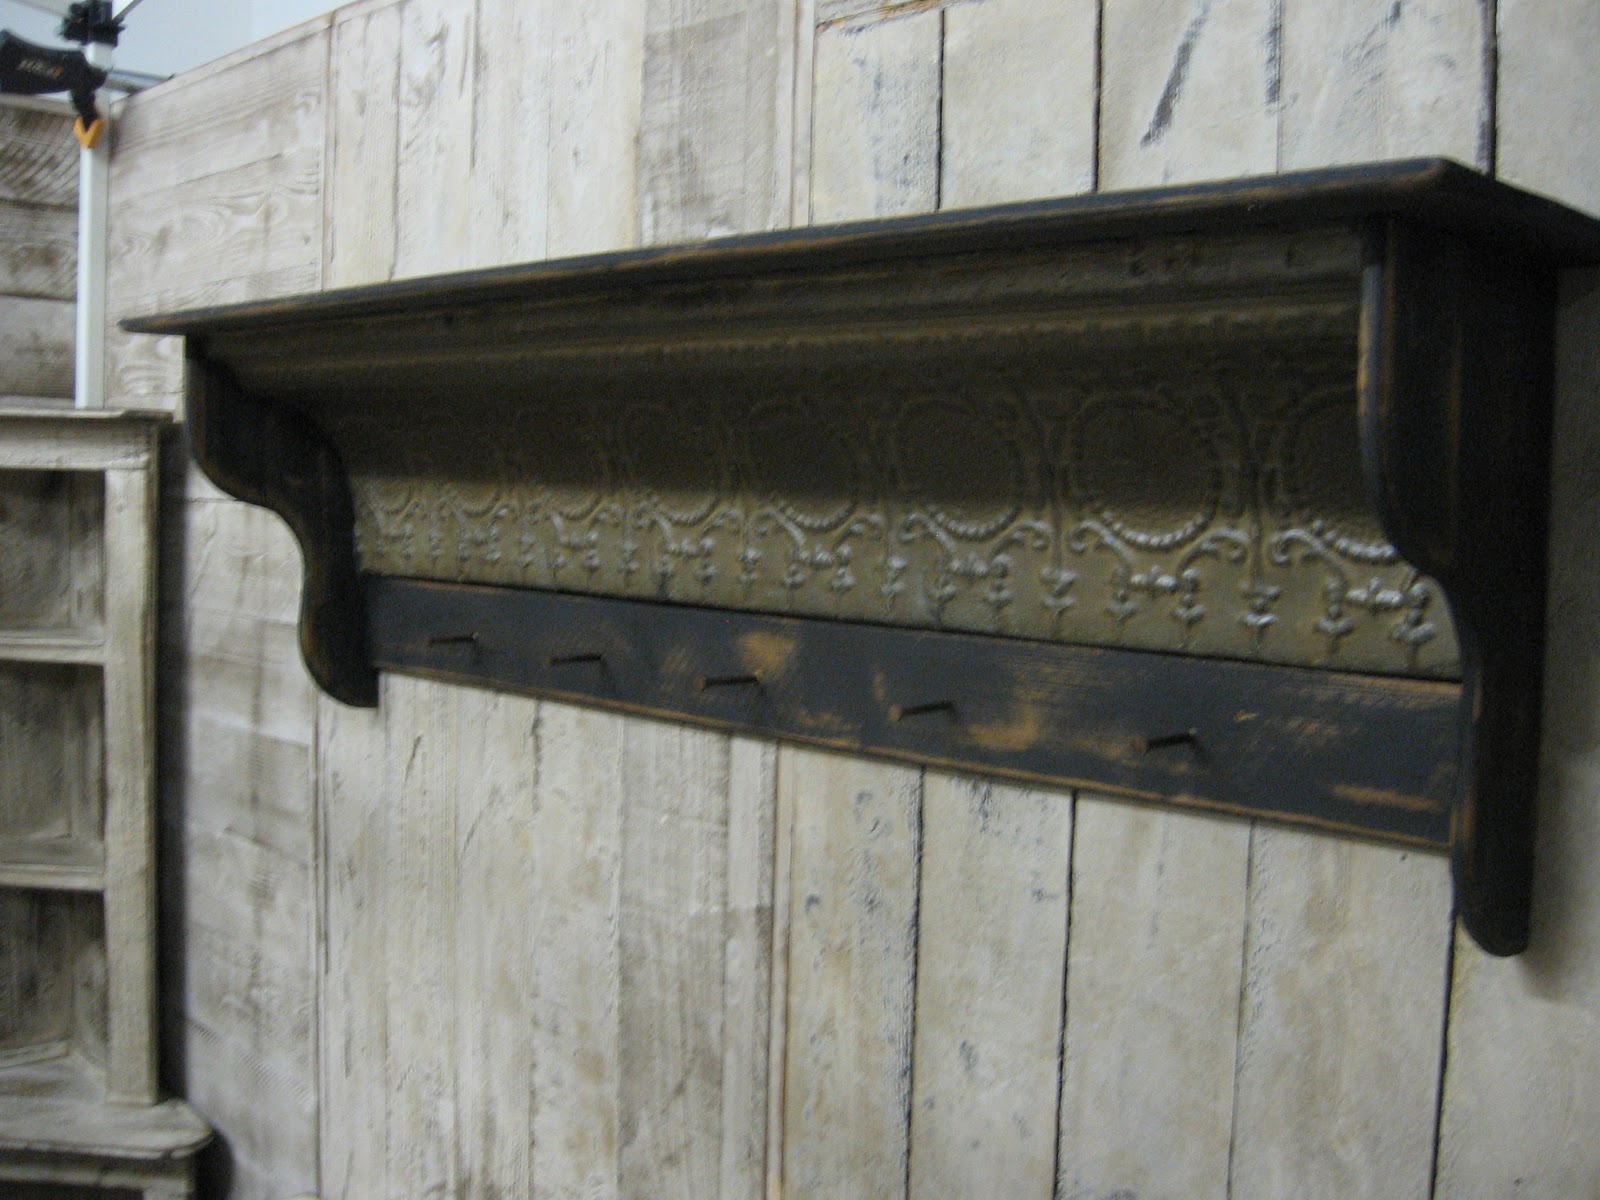
My husband Dennis is a talented carpenter and furniture designer - all shelves, hutches, walls, tables, benches, etc. pictured are his work.

Here are some photos of the new booth in various stages of development....
Enjoy!


one of Dennis's shelves made from antique tin crown moulding and cedar.
This is right around the corner:

Christmas Arts and Crafts Show


Come back and see both of these projects - finished!!!!!


And thanks for playing with me today on our 3rd project MONDAY.

Now you know the drill....here's your linky:


xoxo
ps: I am linking to another great party over at Faded Charm ~ White Wednesday!!!

Friday, July 30, 2010

Altered Art Party!!!

I just found out about this Altered Art party over at The French Cupboard.
I have ALWAYS wanted to join in one of these cyber-parties, but either didn't have the right project in the works, or the confidence to jump in.

 Since I just now discovered this I didn't have time to go upstairs into my magic attic and create something new, so I decided to go back in time and drag out my old paper dolls.....

my original design - that's Schmitty the Kitty - may he rest in peace.

my grandson Dresden

my granddaughter Karise

I got a little carried away....

ya think???

OK, I even made necklaces from scanned images of these guys.
So.....

If you are struggling with what to do with the kids this weekend....

This would be a fun project for them to make.

Just click HERE for the details.

See you soon for an update on my new website....and a fun contest, where you might win one of these...

Bodacious Bubbles!

See ya later!
Monkey
I'm taking Monkey down to the lake!